
Setting up your NANO
End-to-end walkthrough: unbox your NANO, boot from it, enter your activation code, claim it in your wallet, and confirm the node is live.
in this article
- what comes with the NANO
- before you plug it in
- step 1: install the NANO
- step 2: boot from the NANO
- step 3: enter your activation code
- step 4: enroll the secure-boot key (the blue screen)
- step 5: claim the NANO in your wallet
- step 6: confirm the node is live
- telemetry: is your hardware detected?
- host configuration: what your node is allowed to do
- the rest
- what happens next
The YOM NANO is a plug-and-play node runner: a secure-boot SSD that turns your gaming PC into a YOM network node. You plug it into your PC, boot from it, activate it with the code we emailed you, claim it inside your wallet, and your machine becomes a host that earns $YOM when players nearby start sessions.
The whole setup takes about 15 minutes if your hardware already qualifies and you have a wallet ready. The walkthrough below assumes you have both. If not, run the Rig Check and create a YOM account first.
Keep your activation email. When your NANO ships, we email you an activation code for each unit. You type that code into the machine itself on first boot, and again a moment later to enroll the secure-boot key. Without it you cannot complete setup, so find that email before you start.
what comes with the NANO
In the box:
- The YOM NANO SSD itself (USB form factor)
- A short setup card with the same instructions you’re reading now
- The 1 node license registered to your unit
Sent separately, by email:
- Your activation code, listed against the SSD ID of the drive it belongs to
You do not get a CPU, GPU, RAM, power supply, or chassis. The NANO is the operating system and identity layer. The horsepower comes from the gaming PC you plug it into.
before you plug it in
Five things to have ready:
- A qualifying gaming rig. If you haven’t yet, run the Rig Check. Minimum: an NVIDIA RTX 2060 or better, an i5 / Ryzen 7 or better, 16 GB RAM, and a wired ethernet connection (25 Mbps upload or faster).
- A YOM account. This is your wallet, connected via Particle Network. The NANO will be claimed inside this account, and your earnings flow to it.
- Your activation email. The one with the SSD ID and activation code table in it.
- A keyboard and a monitor, plugged into the PC. You type the activation code and confirm one security prompt on the machine itself, so you need both connected for the first boot. The node runs headless afterwards; you can unplug them once it’s online.
- About 15 minutes. Most of it is the first boot. Active work on your side is closer to 5 minutes.
Pick the machine you mean to keep using. A NANO binds to the machine it is registered on and cannot be moved to another PC afterwards. Install it in the computer you intend to run as your node.
Power your PC down completely before installing the NANO.
step 1: install the NANO
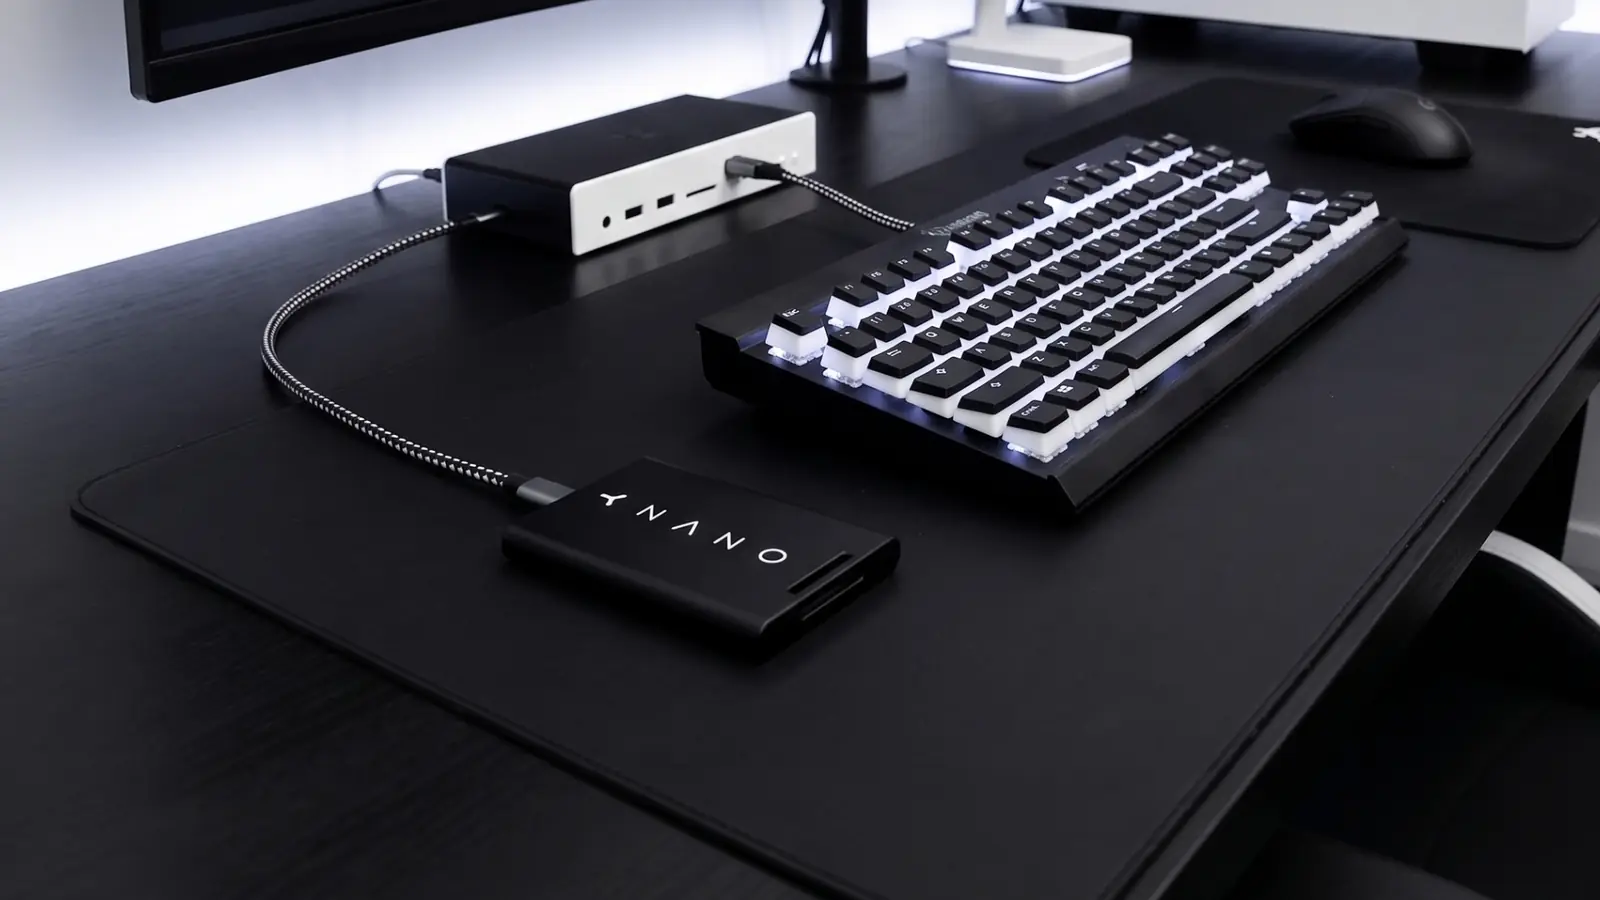
Plug it into a USB 3.0 port on the back of your PC. Front-panel ports usually work too, but back-panel ports are routed more directly and are more reliable for sustained operation.
Run an ethernet cable from your router straight to the PC. Wi-Fi will work for the first boot but the node will not run on Wi-Fi in production. Plan for ethernet.
step 2: boot from the NANO
Power your PC on and immediately enter the BIOS. The right key is shown briefly on screen the moment the machine starts.
I don't know my BIOS key, or I keep missing it
F2orF10for Dell, Lenovo, HPDELorF12for ASUS, Gigabyte, MSI, ASRockF6on some boardsF1for some legacy systems
If you keep missing the window, go via Windows instead: Start → the Power button → hold Shift while clicking Restart. Pick Troubleshoot → Advanced options → UEFI Firmware Settings (only present on UEFI machines) and the PC restarts straight into the BIOS.
Set three things, then save:
- TPM 2.0 — enabled. The NANO uses your motherboard’s TPM to secure the node.
- Secure Boot — enabled. Not optional: the NANO is a signed drive and will not start without it. If CSM (Compatibility Support Module) is on, turn it off; CSM allows legacy boot and conflicts with Secure Boot.
- Boot order — the NANO first. It shows up as
YOMor as the drive model, usually Exascend.
Where do I find TPM in my BIOS?
Most boards from the last ~8 years have a TPM built in, it is just sometimes switched off by default.
- Intel systems: look under the Advanced tab (sometimes Security or Peripherals, depending on brand) for “Intel Platform Trust Technology (PTT)” and set it to Enabled.
- AMD systems: look for “AMD fTPM configuration” (usually under Advanced) and set TPM Device Selection to Firmware TPM / Enabled.
Menu location varies by manufacturer; if you don’t spot it under Advanced, check Security or Peripherals too. If there’s no TPM option anywhere on those tabs, your board is likely too old to support it (pre-2017-ish).
To check from Windows before you reboot: press Win + R, type tpm.msc, hit Enter. If it shows “Specification version 2.0” you are already good.
Making the NANO first, rather than just present in the list, matters more than it sounds. YOM occasionally ships updates that restart the node. If your Windows drive is still first, that restart drops the machine into Windows and it silently stops serving the network until you notice.
Save and exit. Your PC will restart and boot into the YOM Node OS.
If your PC has BitLocker or another full-disk encryption on the primary drive, the NANO does not touch it; you’ll still need your normal key when you boot back to your regular OS.
step 3: enter your activation code
The first thing the NANO shows is not the QR code. It’s an activation prompt naming the drive:
Drive <SSD ID> — enter the activation codeFind that SSD ID in the table in your activation email and type the 10-digit code listed next to it, then press Enter.
- The code is all digits. Use the number keys.
- If you ordered more than one NANO, match the SSD ID on screen against the table carefully. Codes are tied to specific drives and are not interchangeable — the code for your second unit will not activate your first.
- You get three attempts. After three wrong codes the node locks for one hour. Type carefully rather than quickly.
If you do lock yourself out, nothing is damaged: wait the hour out and try again with the correct code. If you can’t find your activation email or the code is rejected on every attempt, message support in the app with your SSD ID and we’ll re-send it, or email support@yom.net if you can’t sign in.
step 4: enroll the secure-boot key (the blue screen)
Once, on first boot only, a blue text screen appears for about 30 seconds of work. This is your motherboard asking permission to trust the YOM signing key. It looks alarming and is completely normal.
You have 10 seconds to press a key when prompted, then:
Press any key within 10 seconds— press any key- Choose Enroll MOK →
Enter - Choose Continue →
Enter Enroll the key(s)?→ Yes →EnterEnter password:→ type your activation code again (the same 10 digits) →Enter. The screen stays blank while you type; that’s expected, keep going.- Choose Reboot
Only ever choose Enroll MOK. Never pick Reset MOK or Delete MOK; those clear the trust state and break the drive’s ability to boot.
Missed the 10-second window? Nothing breaks. The screen comes back on the next start, so just power cycle and watch for it.
step 5: claim the NANO in your wallet
After the reboot, the YOM Node OS boots into a screen with a QR code and a short pairing code. This first start-up can take several minutes; leave the machine alone while it works.
Registration starts from the node, not from the app. On your phone:
- Scan the QR code on the NANO boot screen, or open the short pairing URL it shows.
- Sign in with the wallet you want to receive earnings on. Use the same wallet for every NANO you own.
- The registration page walks you through the rest: confirm your wallet, name the NANO, then confirm the pairing.
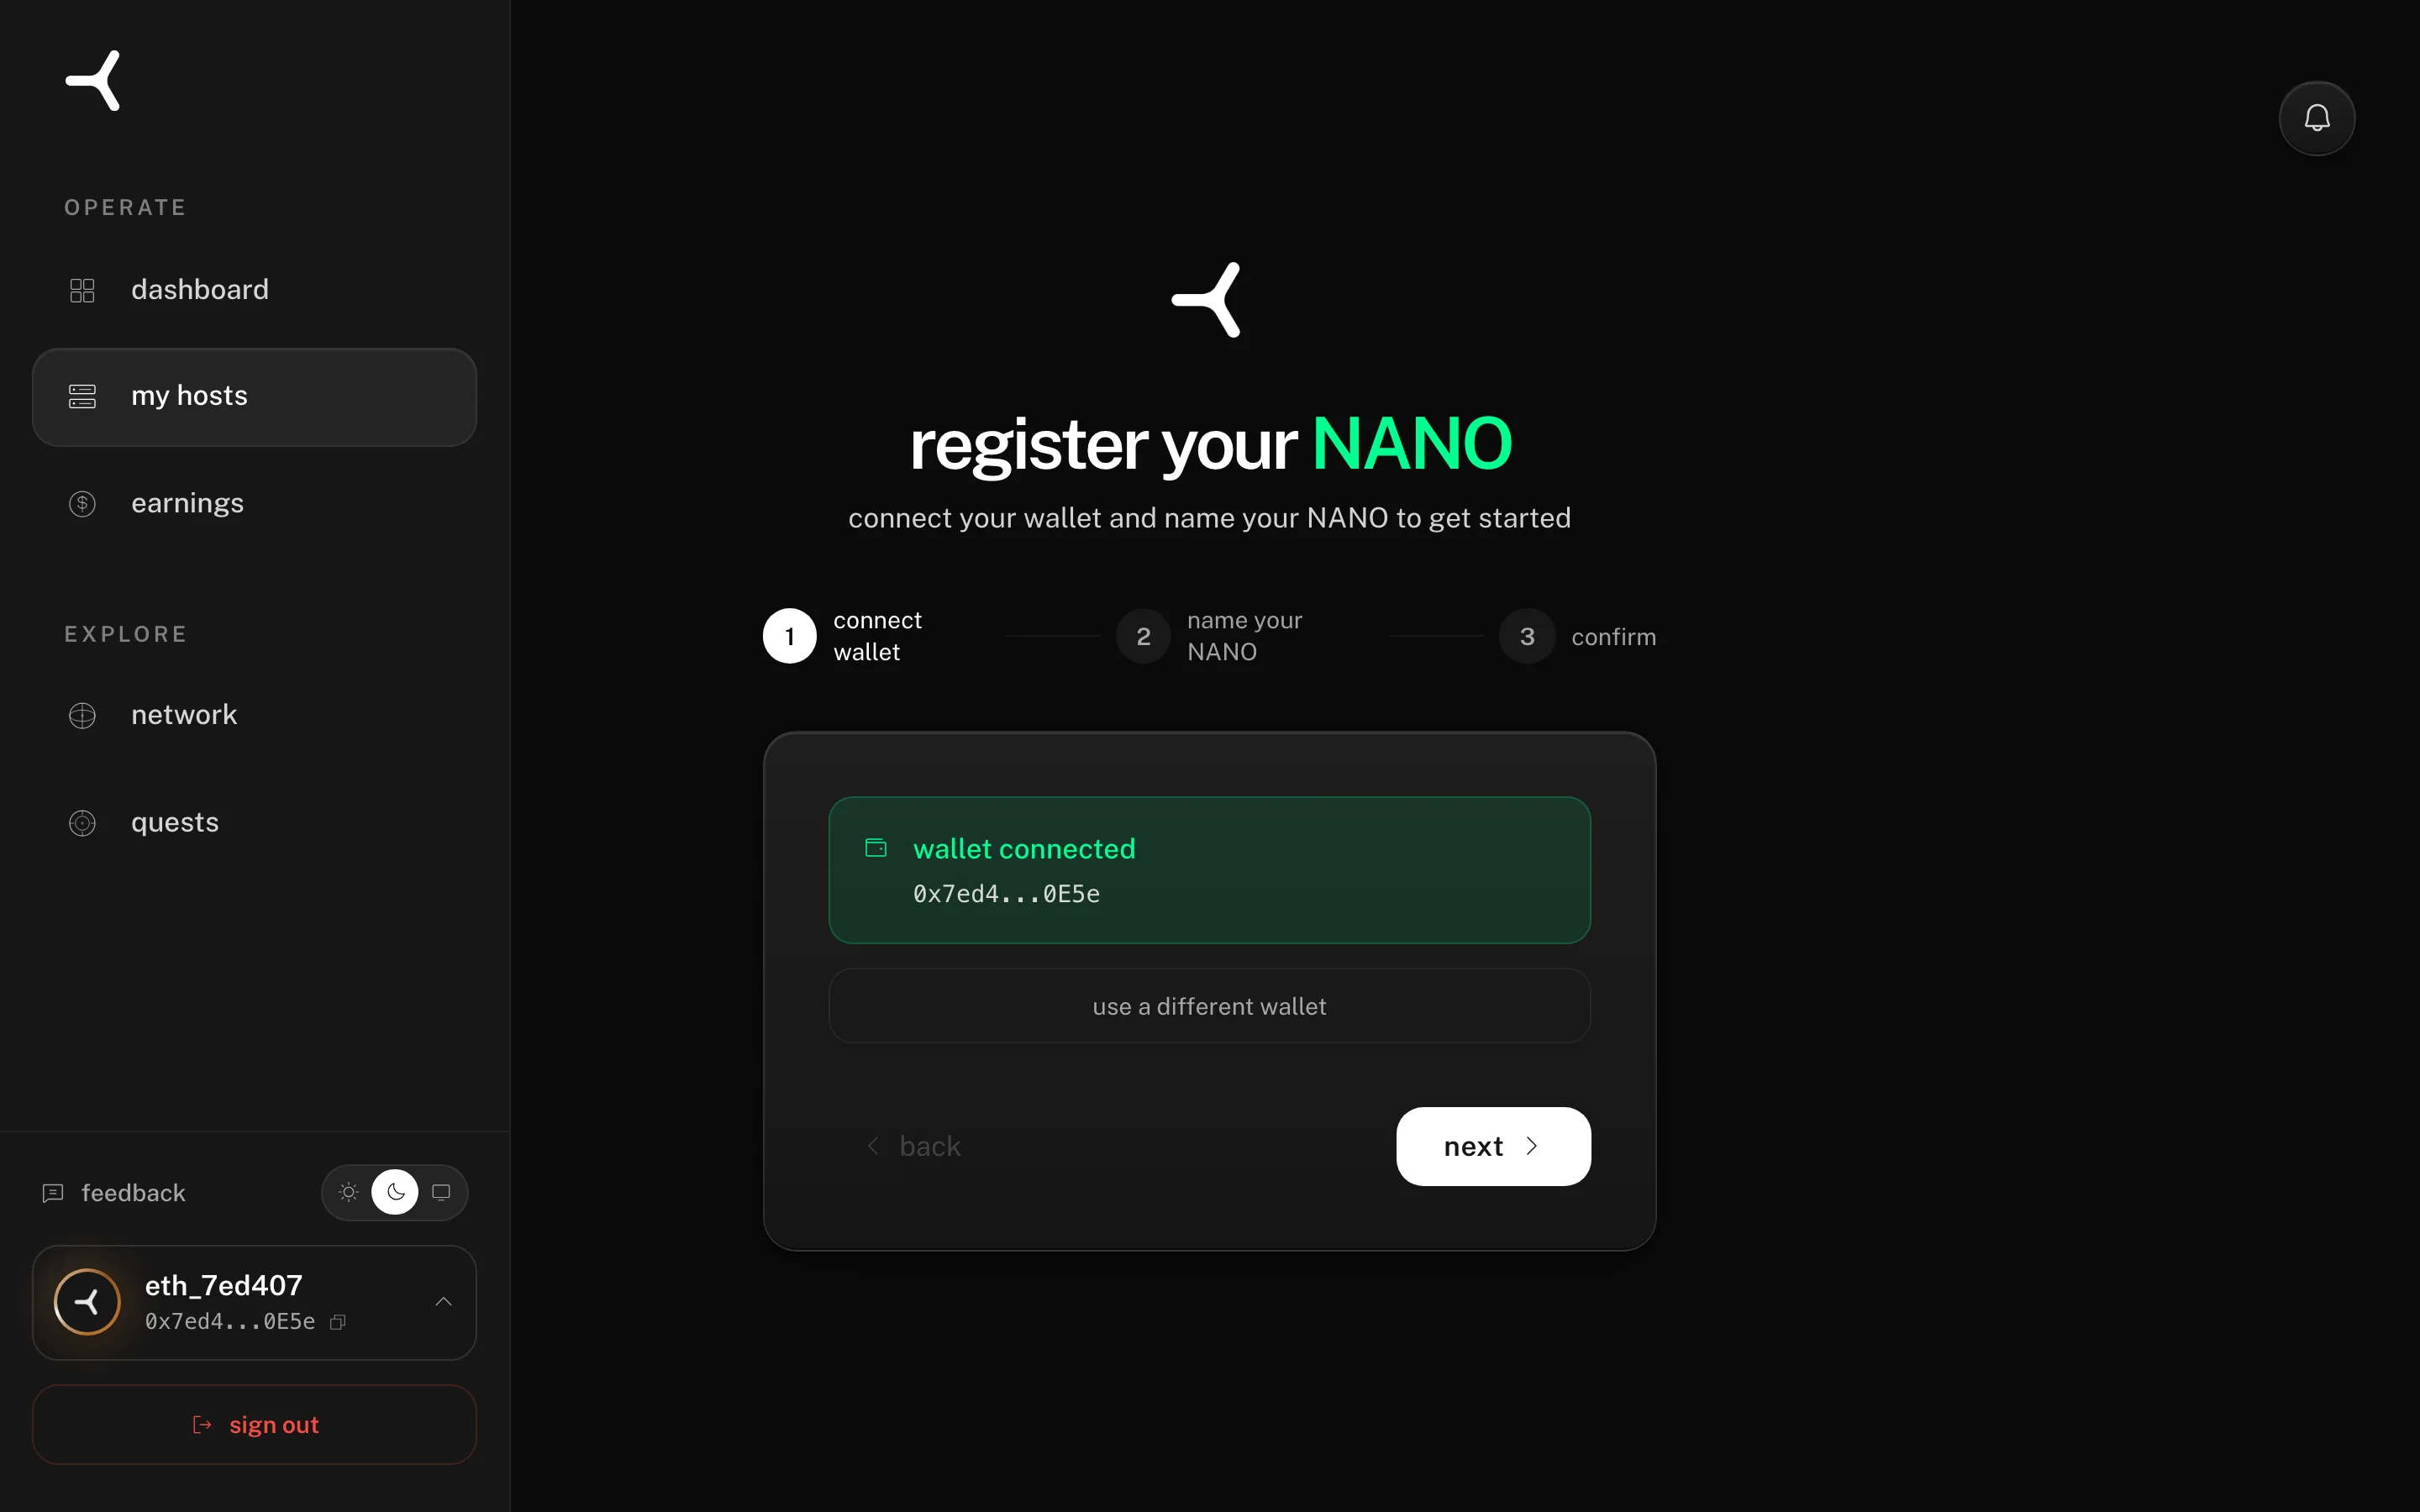
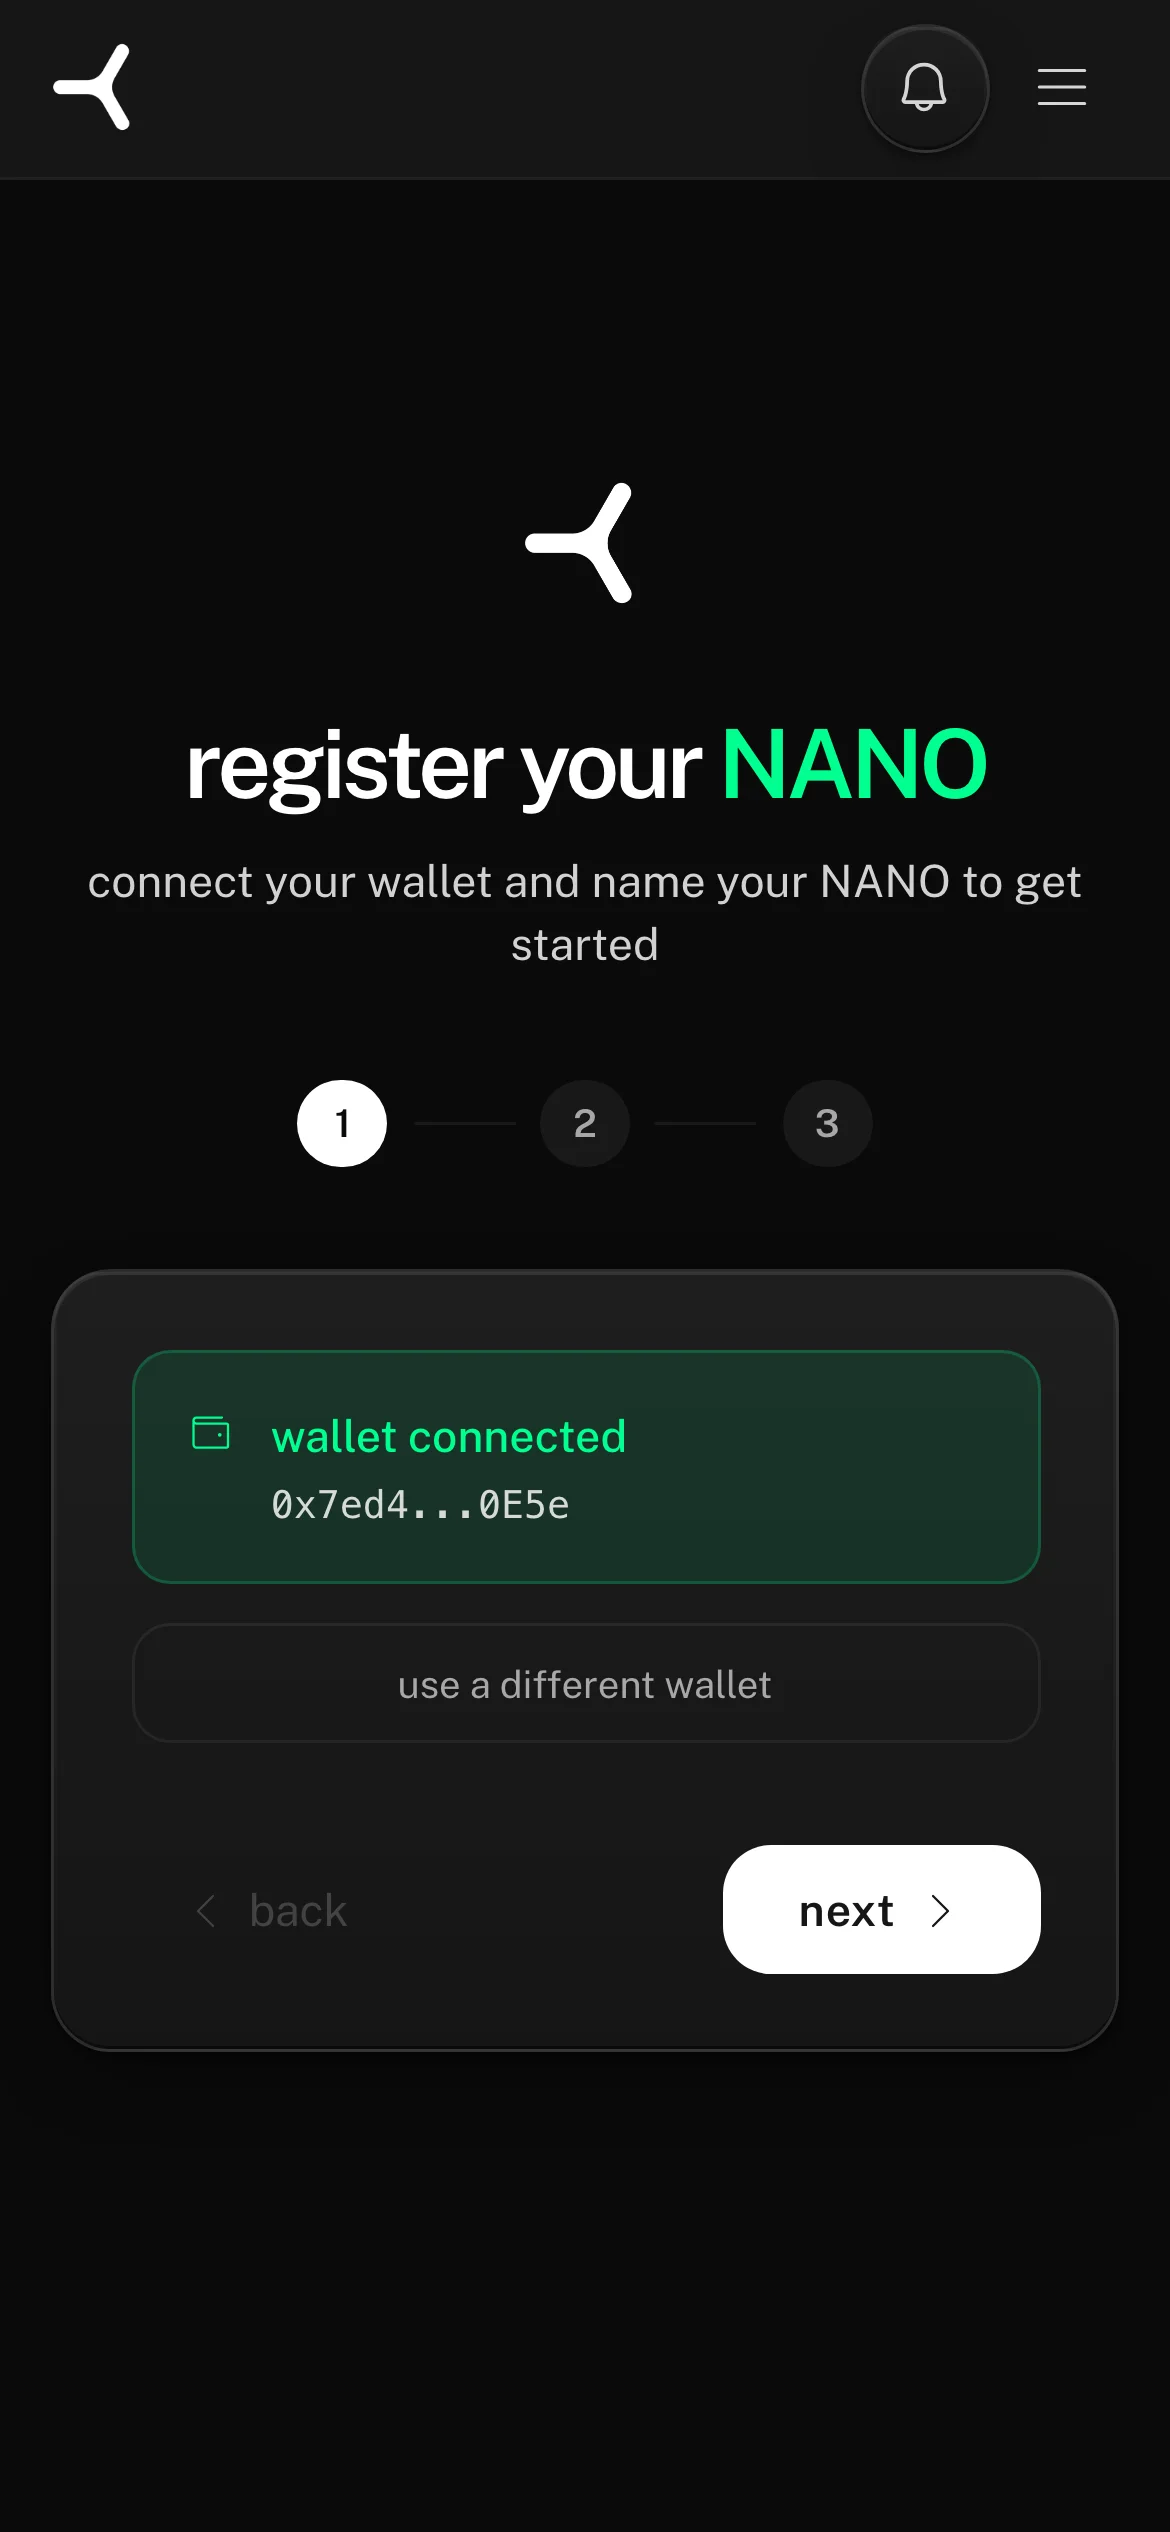
Within a few seconds, the NANO will register against your wallet, and app.yom.net/hosts will list it as a new host with status connecting and then online. That’s where you manage the NANO from now on.
Registration only works by scanning the code the node itself shows — there’s no way to add a host from the app before the node is up. If the QR screen never appears, work through node offline rather than looking for it in the dashboard.
step 6: confirm the node is live
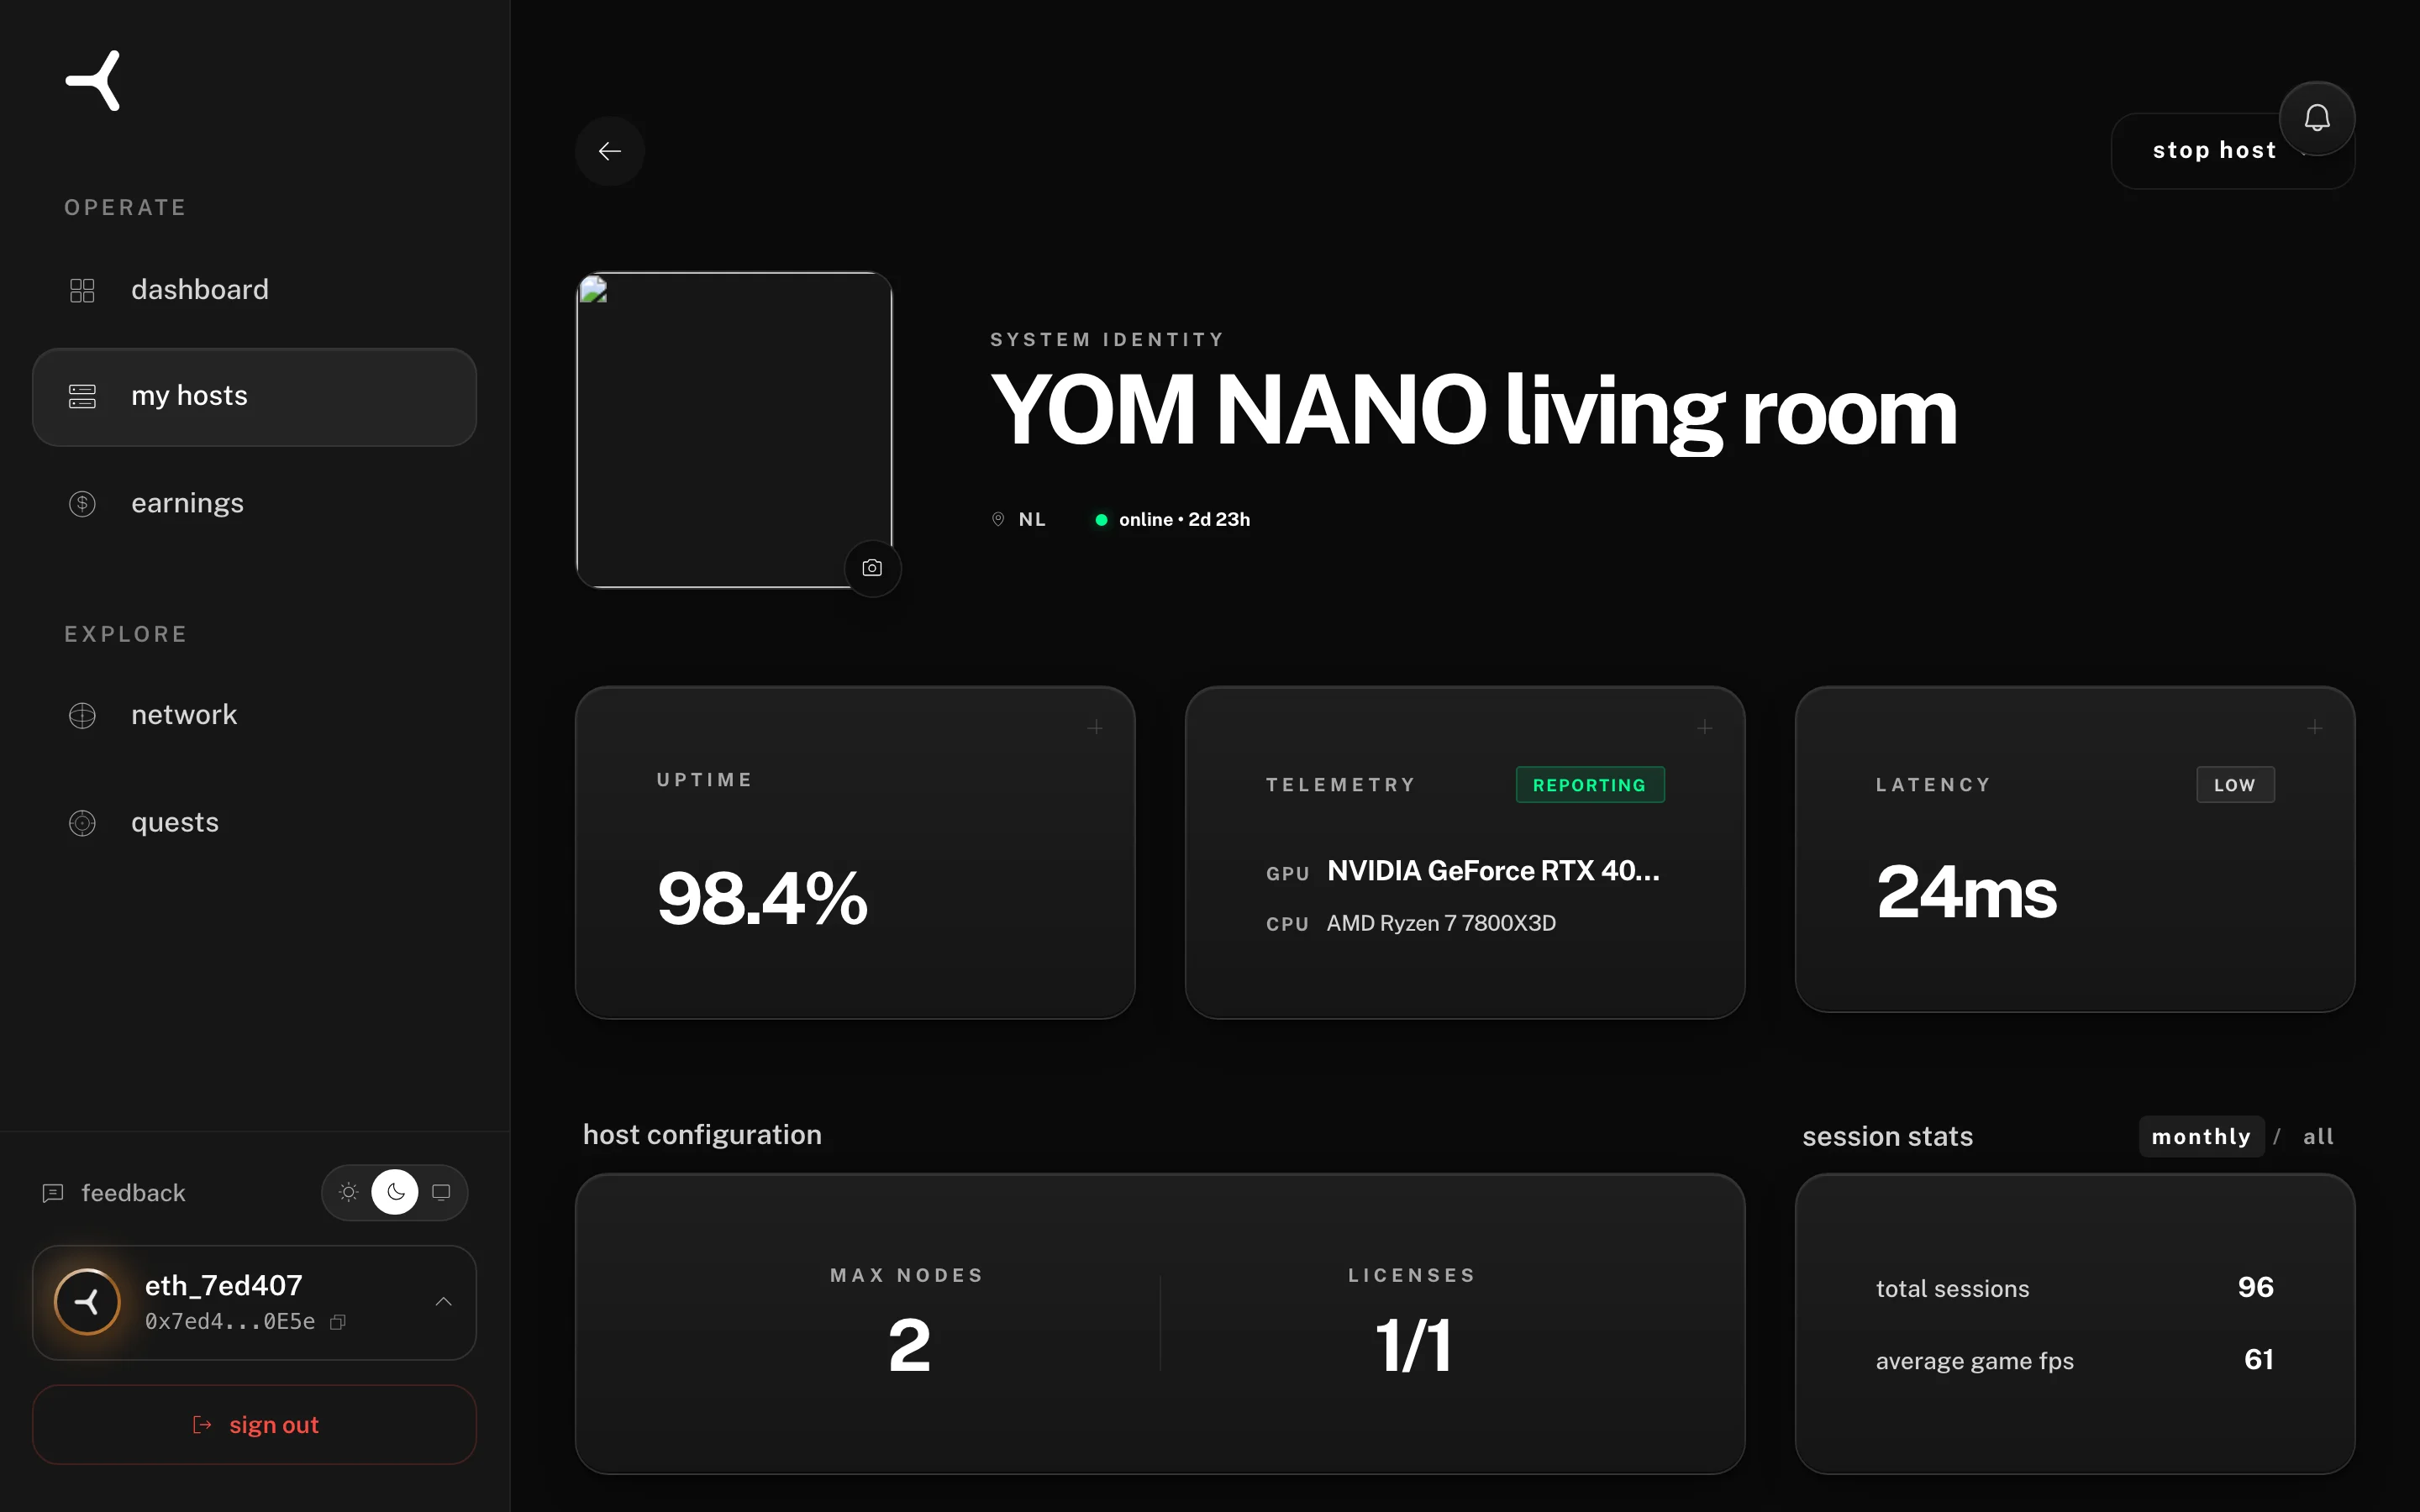
Go to My hosts in the app and click your new host. The detail page shows the system identity, telemetry, and host configuration:
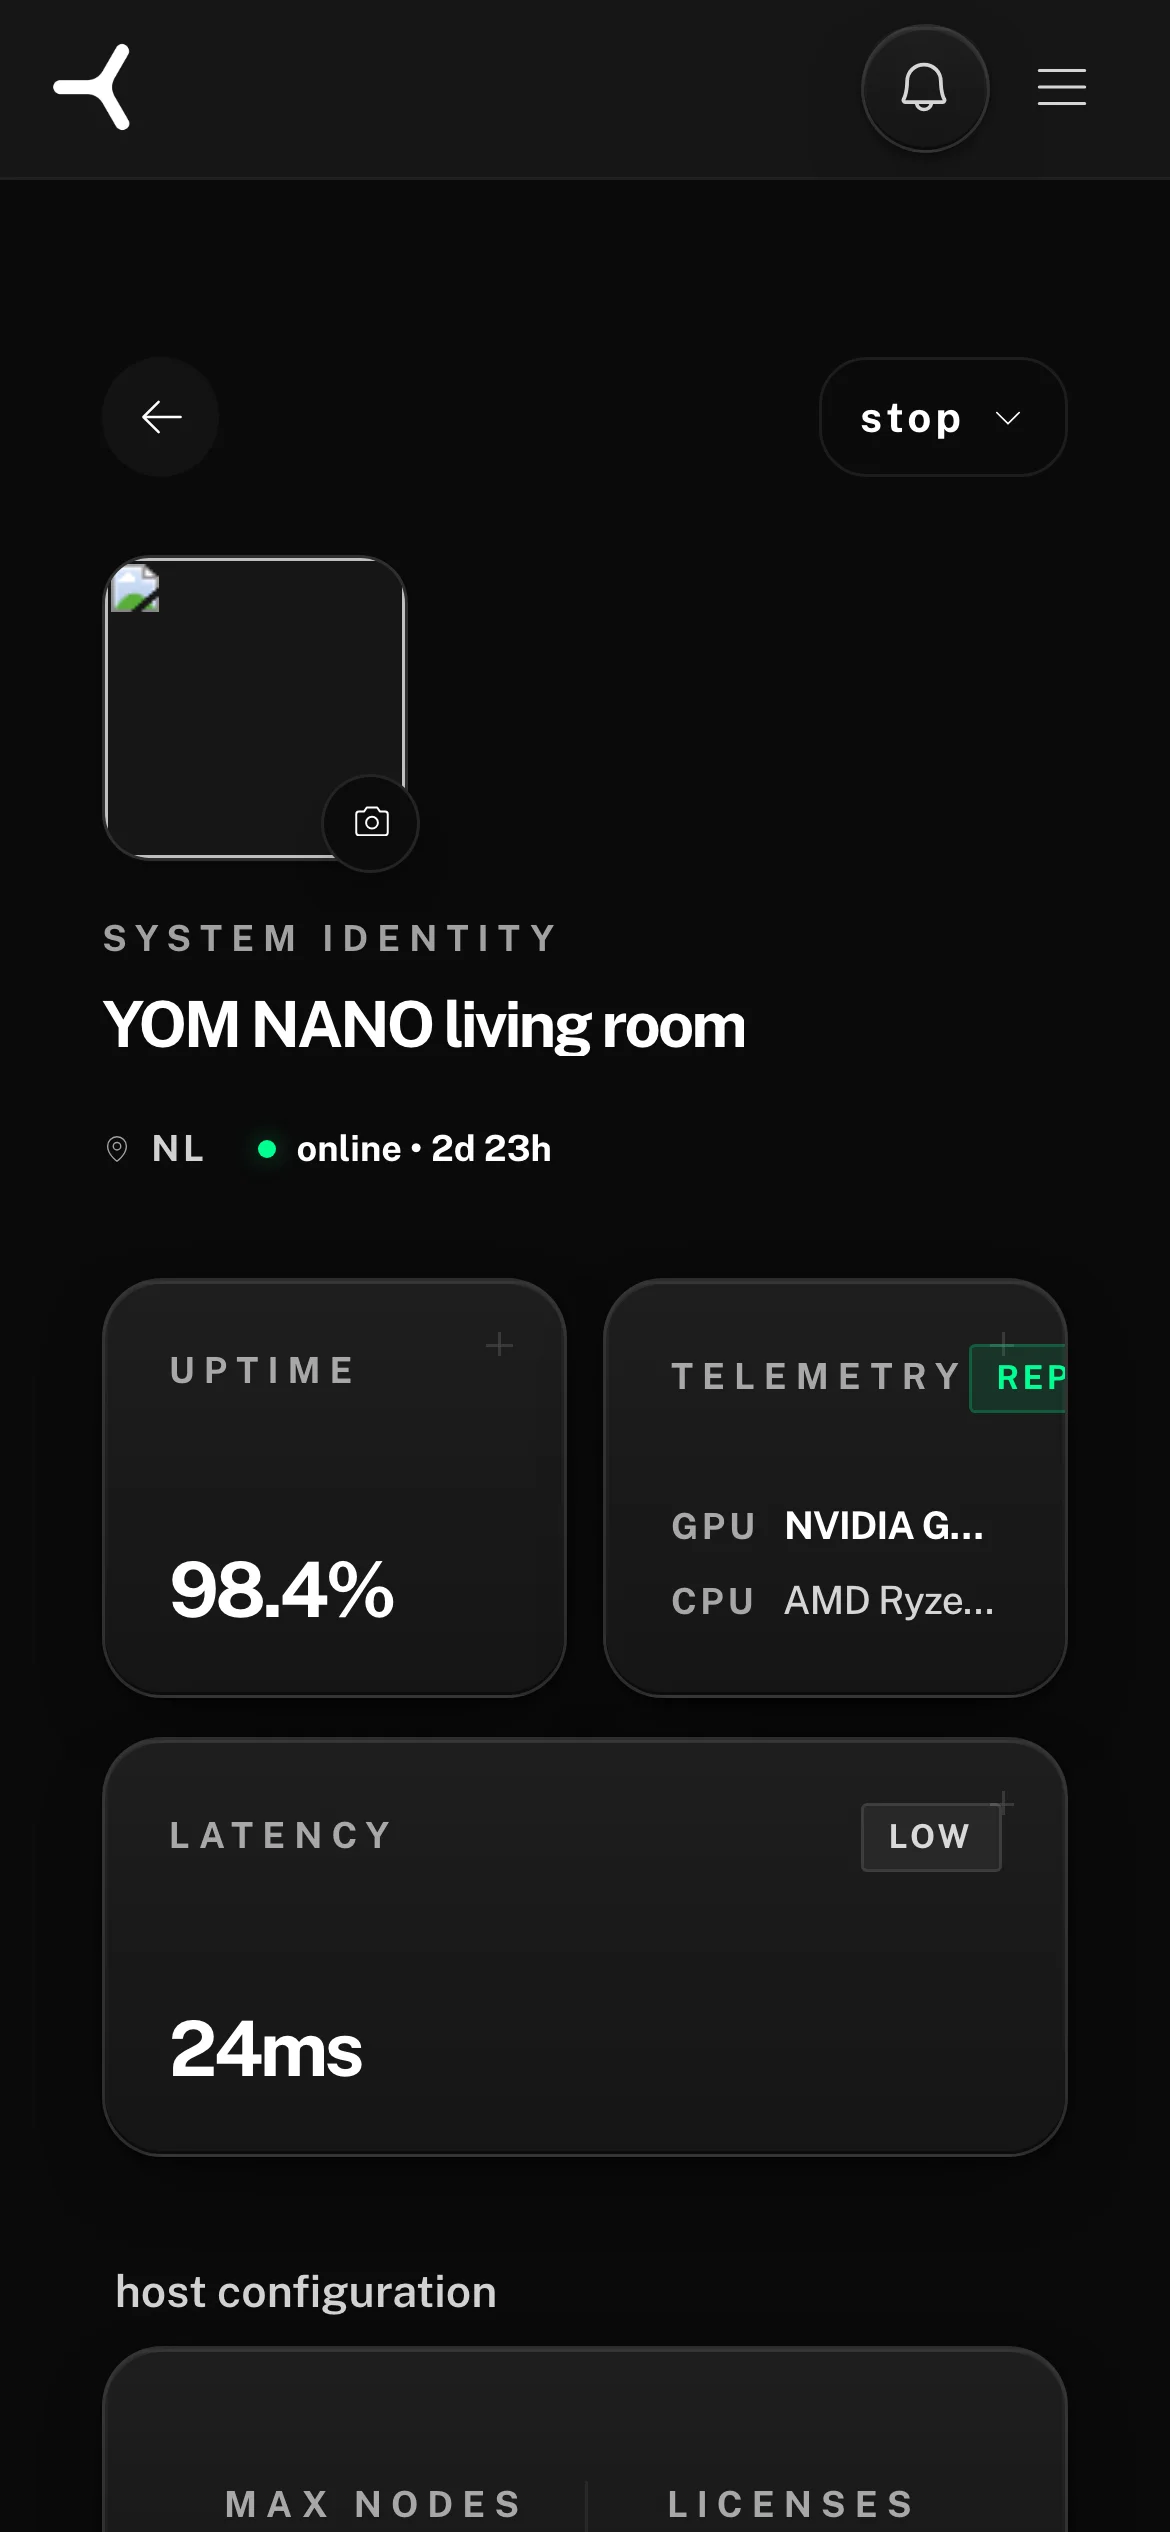
A few specific things to check.
telemetry: is your hardware detected?
This is the most important confirmation. As soon as your node sends its first heartbeat, the telemetry card switches to reporting and the GPU and CPU detection results populate:
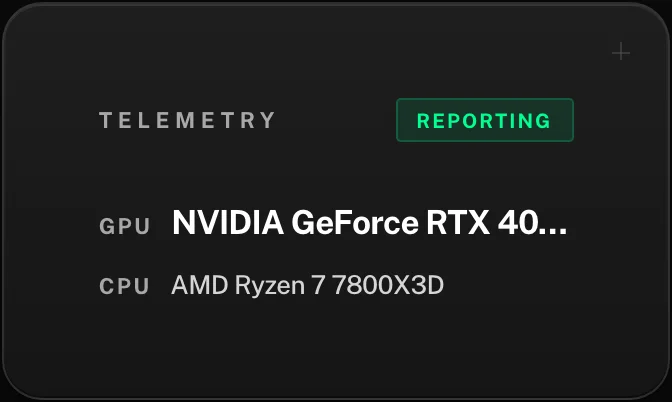
If the GPU or CPU show unknown for more than a few minutes after the node comes online, the hardware-detection step is stuck. Most often this means the GPU driver isn’t compatible. See Troubleshooting: rig check failed for the fix.
host configuration: what your node is allowed to do
The host configuration card shows your machine’s capacity and how many licenses are currently bound to it:
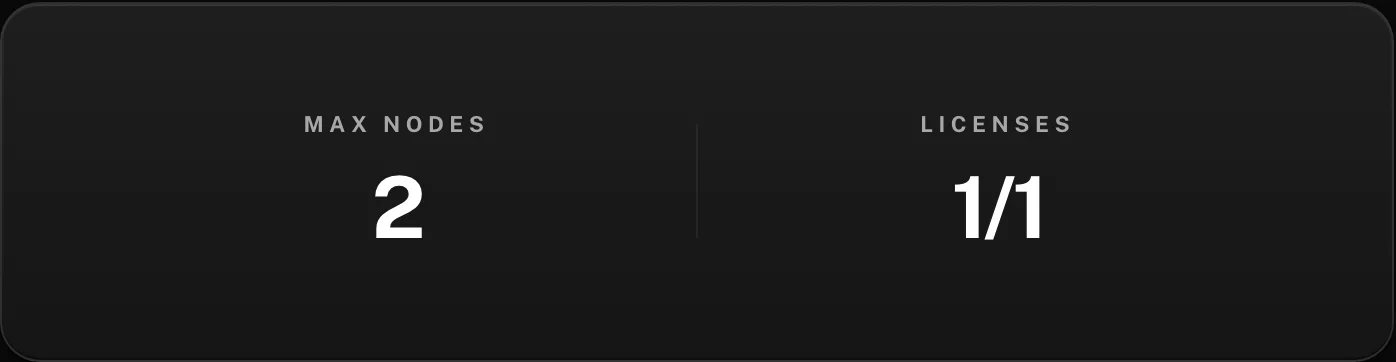
- max nodes is the number of concurrent sessions your hardware can host. The rig check determines this based on GPU VRAM and CPU headroom. A
2means your machine can serve two players at the same time. - licenses shows how many of your owned node licenses are bound to this host.
1/1means one license, fully bound. If you own multiple licenses, you can bind extras here to raise this host’s capacity, or bind them to a second host.
the rest
- Online status and region: green
onlineindicator with a running clock from the first heartbeat. Anything other than online for more than a few minutes means something’s wrong with the connection. - Uptime: percentage of the period the node has been reachable. Starts at 0% and climbs as your node accumulates online time.
- Latency: starts at
0mswhile the network is still probing routes to your node, then settles to a real average (under 30 ms is excellent) once the first sessions flow through.
You should also see your node appear as a green dot on the public global node distribution map within a few minutes.
If the host stays in connecting for more than 10 minutes, see Troubleshooting: node offline.
what happens next
The NANO runs the YOM Node OS continuously while plugged in and the PC is on. You do not need to interact with it after setup. When a player nearby starts a game session, the network routes them to your node, your GPU streams the session, and your wallet accrues $YOM proportional to the time and load you carried.
Earnings appear in Earnings in the YOM app, typically within minutes of a session completing. Payouts to your wallet happen on the schedule defined by the payout function.
To return your PC to regular use: power down, change the BIOS boot order back to your normal drive, and boot as usual. The NANO sits idle until you boot from it again. You can leave it physically installed indefinitely.
Can't sign in, or don't have an account yet? Email support@yom.net
2 / 14 operating a YOM node
all articles